What to Bring to a Scrapbooking Crop
The first time I went away for a weekend crop with a friend in 2003, I about lost my mind while I was packing for it. I kept running from pile to pile in my craft room, sure that I would "need" some of everything. In the end, I filled the back of my SUV with scrapbook products. I took so much more that I could have possibly needed. I felt overburdened with stuff to lug around and overwhelmed with choices; it just about paralyzed my creativity that weekend!
These days I crop monthly with a few friends at my neighborhood Archiver's. After our first outing together I realized that the only way I could look forward to these get-togethers on a monthly basis was if I stressed a lot less about the packing. I have a little system now that works quite well for me, and while I was packing for this weekend's crop I thought I would take a few photos to share with you (as well as the resulting layout at the end of the post).
Tip 1: Pack a limited number of photos
My first big tip is to choose the photos you want to work with ahead of time. That way you can pack products only for those photos. I know we all have tons of photos we need to scrap, but if we take several stacks of photos along we have to try to pack products that could go with all of them. So for my six-hour night of scrapping I start my process by selecting photos for just four or five layouts. I hardly ever get even that many done!
Tip 2: Plan each layout on paper (or in your head)
I start all my layouts with sketches. It's just how I get down. So for each set of photos I choose a sketch to go with them. This quickly leads me to the product-choice part of my process because I know how many patterned papers and embellishments I'll need. If you don't use sketches when you create, try to envision a rough draft of your final layout so that you can pull products from your stash that will work together.
Tip 3: Pull all the products you might need for each project/layout
I look through my stash with sketch and photos in hand and pull products that I like together. Even if I see something that could work for one of my other layouts, I try to focus on one page plan at a time. I've fallen into the trap of packing for all the projects at once, a little here and a little there, but it just makes it take longer to pack in the end.
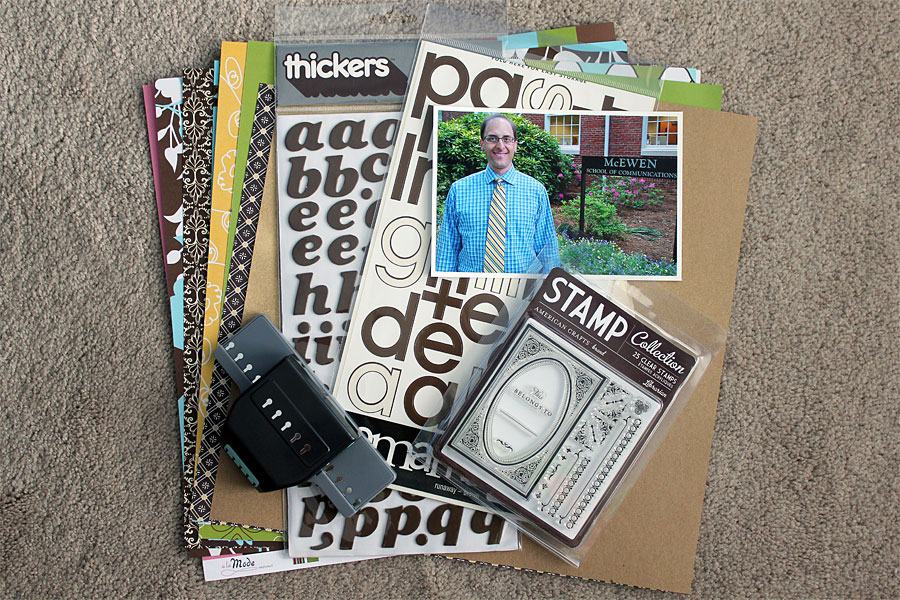
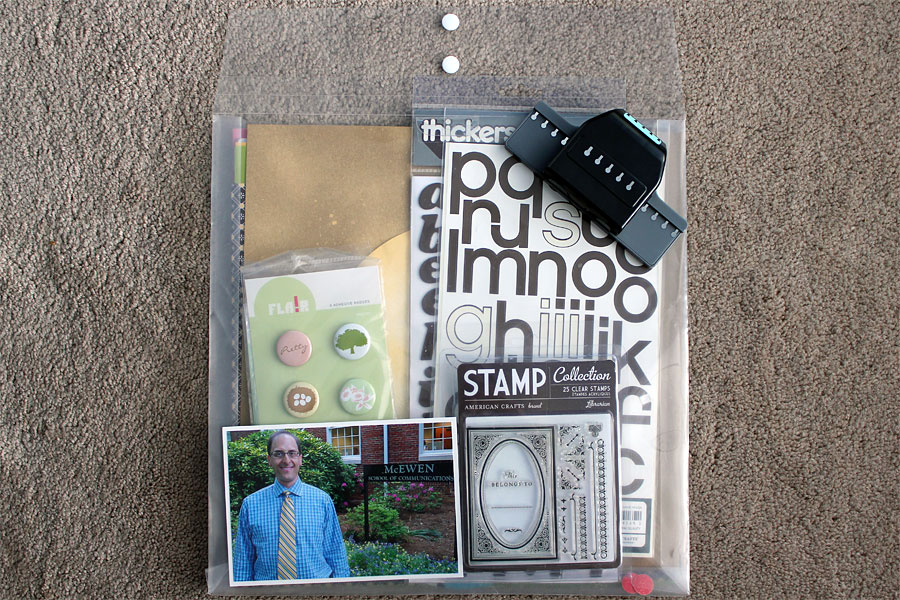
Tip 4: Create a page kit for each layout
Put everything that's flat enough to fit into a 12×12 envelope. I just put it all in this one place so I don't have to dig through my bag for it or remember what I had thought would work well together. That kit is done, so I can move on to the next.
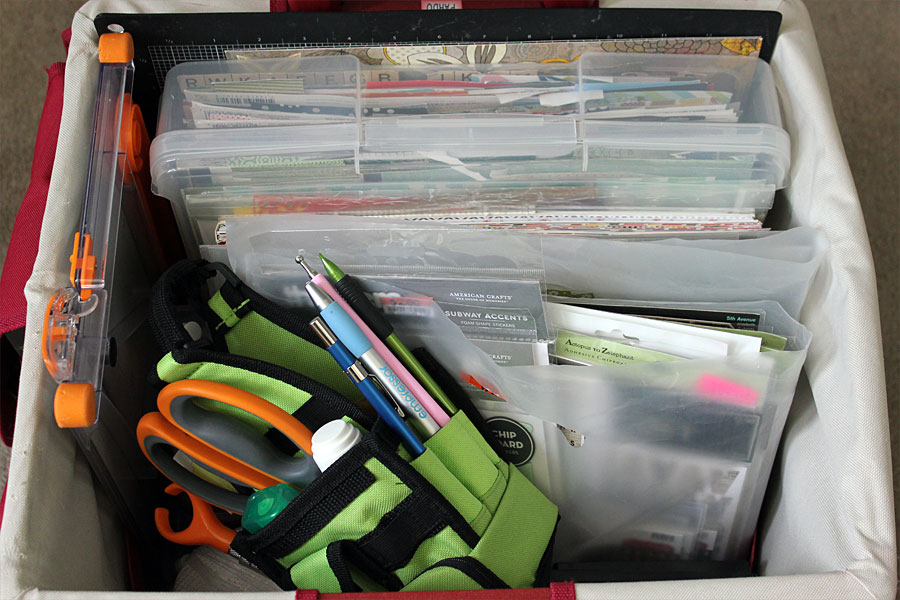
Tip 5: Pack the bulky items and tools
After I've packed my separate page kits, I pull together all the tools and extras that I'll need. There are the constants—like my Basic Grey magnetic mat, paper trimmer, bin of patterned paper scraps, etc. And there are also things that I think I'll want to use with the page kits but that won't fit in the envelopes. This includes things like punches, bags of buttons, etc. I pile that all into my rolling organizer (one that I purchased at Costco years ago and still love).
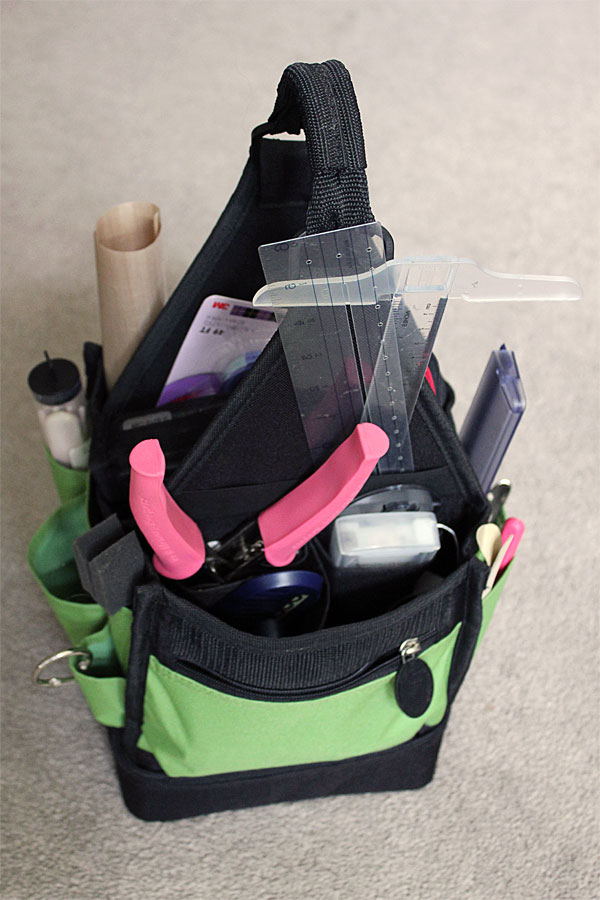
Tip 6: Grab your tool bag
I keep my small-stuff tool bag packed all the time. It sits next to my craft desk, so it's always in use and ready to go. So, that's the last step—grab the tool bag and get out that door!
This process of mine takes a little more planning, but it saves me so much packing angst! I kid you not, there's a woman who sometimes crops on the same night I meet my friends who wheels in a big flatbed cart chockablock full of scrapbook supplies! The time and backache involved in packing that way…well, I'll just say it's not for me. I prefer to walk in pulling my little cart and carrying my tool bag. I'll tell you what, I usually still have more supplies than I need for a night of fun scrapping.
Bonus tip 7: Share
Another way to really cut down on what you pack is to plan on sharing. If your friend always brings her die-cutting machine, offer to bring your dies to share with her each time in exchange for the use of her machine. Or perhaps you have a great collection of punches that you can share, and your buddies can bring their circle cutters or Crop-A-Diles. You get the idea.
I thought after all that, I should share the layout I made with the page kit shown above. 🙂

My baby bro after a day of teaching.
What to Bring to a Scrapbooking Crop
Source: https://theconstantscrapper.com/7-tips-for-packing-for-your-next-crop/
Belum ada Komentar untuk "What to Bring to a Scrapbooking Crop"
Posting Komentar